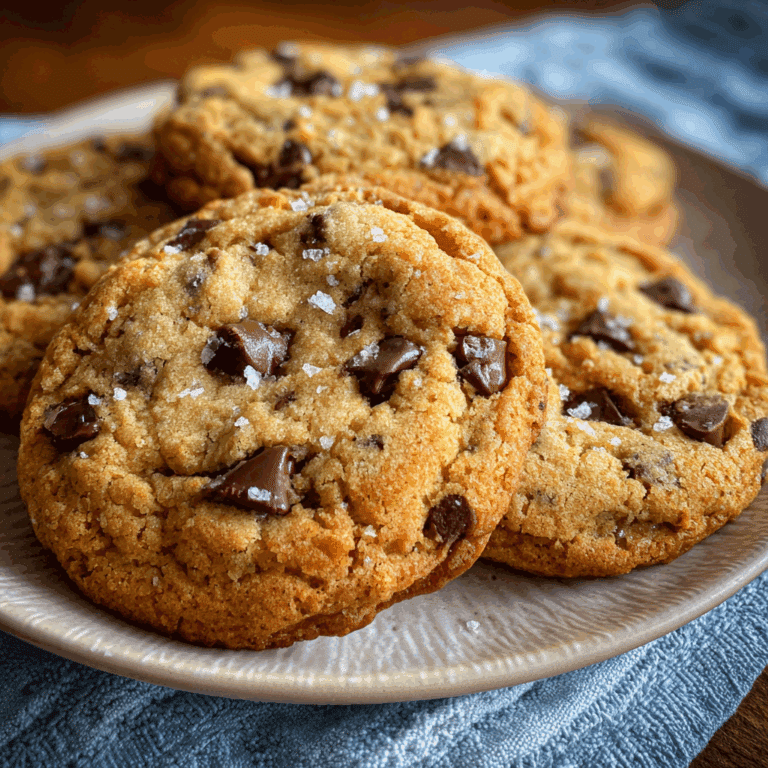
Valentine’s Red Velvet Whoopie Pies

If you’re searching for a dessert that is as charming as it is delicious, look no further than these Valentine’s Red Velvet Whoopie Pies. Soft, cakey, and dripping with sweet cream cheese filling, they’re the perfect treat to share with your special someone or to brighten up any Valentine’s celebration. This recipe captures that classic red velvet richness paired with a fluffy, melt-in-your-mouth texture that keeps everyone coming back for more. Whether you’re a seasoned baker or trying something new, these delightful treats will make your heart—and your taste buds—sing.
Why You’ll Love This Recipe
- Classic Comfort: The moist, tender red velvet cakes offer the perfect balance of cocoa and sweetness for a nostalgic treat.
- Simple to Make: With easy-to-find ingredients and straightforward steps, it’s a recipe that anyone can whip up confidently.
- Perfectly Portable: These whoopie pies are individually sized, making them perfect for gifting or sharing at parties.
- Rich Yet Light: The cream cheese filling adds a tangy creaminess without feeling heavy or overwhelming.
- Customizable: You can tweak the filling or cake flavors to suit your mood, dietary needs, or celebrations.
Ingredients You’ll Need
This recipe calls for simple ingredients you probably already love and trust, each serving a special role in creating the perfect Valentine’s Red Velvet Whoopie Pies. From the vibrantly colored cake layers to the luscious, creamy filling, every element contributes to that iconic red velvet charm.
- All-purpose flour: Provides the tender crumb body and structure for the cakey layers.
- Cocoa powder: Just the right amount adds a subtle chocolate undertone to balance the sweetness.
- Baking soda and baking powder: Work together to create light, fluffy whoopie pies.
- Unsalted butter: Adds richness and moisture to the cakes.
- Sugar: Sweetens the batter and helps with that soft texture.
- Eggs: Bind everything together while lending moisture.
- Buttermilk: Brightens the tangy flavor and ensures a tender crumb.
- Vanilla extract: Enhances overall flavor complexity.
- Red food coloring: Creates that signature Valentine’s red hue that’s visually irresistible.
- Cream cheese: For the smooth, tangy filling that complements the cake perfectly.
- Powdered sugar: Sweetens the cream cheese filling with a delicate texture.
- Heavy cream or butter (optional): To lighten and enrich the filling consistency if preferred.
Variations for Valentine’s Red Velvet Whoopie Pies
Feel free to customize your Valentine’s Red Velvet Whoopie Pies to suit your dietary preferences, seasonal ingredients, or personal flavor cravings. This recipe is versatile and open to delicious tweaks to make it truly your own.
- Gluten-free option: Swap all-purpose flour with a gluten-free blend to keep these treats accessible.
- Vegan twist: Use dairy-free cream cheese and egg substitutes to make these pies plant-based.
- Flavored fillings: Try adding a hint of orange zest or espresso to the cream cheese for a unique touch.
- Nutty crunch: Incorporate finely chopped pecans or walnuts into the batter or dust the tops for added texture.
- Chocolate drizzle: Enhance decadence by drizzling melted dark or white chocolate over the whoopie pies.

How to Make Valentine’s Red Velvet Whoopie Pies
Step 1: Prepare the Cake Batter
In a medium mixing bowl, sift together the all-purpose flour, cocoa powder, baking soda, and baking powder. This ensures your whoopie pies will have a smooth, lump-free texture. In a large bowl, beat the softened butter and sugar until light and fluffy, then add the eggs one at a time, mixing well after each addition. Stir in the vanilla extract and red food coloring to achieve that vibrant Valentine’s red color. Alternate adding the flour mixture and buttermilk, starting and ending with the dry ingredients, mixing just until combined to avoid overworking the batter.
Step 2: Bake the Cake Rounds
Preheat your oven to 350°F (175°C) and line baking sheets with parchment paper. Using a cookie scoop or tablespoon, dollop the batter onto the sheets in even rounds about 2 inches apart to allow for spreading. Bake for 10-12 minutes, or until the cakes spring back gently when touched. Let them cool completely on wire racks to prevent the filling from melting.
Step 3: Make the Cream Cheese Filling
Beat the softened cream cheese with powdered sugar until smooth and creamy. For an extra fluffy filling, whip in a bit of heavy cream or softened butter until light and silky. Adjust sweetness to your liking and aim for a consistency that’s easy to spread but holds its shape.
Step 4: Assemble the Whoopie Pies
Match the cooled cake rounds in similar sizes. Generously spread or pipe the cream cheese filling onto the flat side of one cake and sandwich it with a second. Press gently to ensure even filling without squeezing it out. Repeat with the remaining cakes, then refrigerate the whoopie pies for at least 30 minutes to set the filling perfectly.
Pro Tips for Making Valentine’s Red Velvet Whoopie Pies
- Room temperature ingredients: Ensure butter, eggs, and cream cheese are at room temperature for smoother mixing and optimal texture.
- Even scoops: Use a cookie or ice cream scoop for uniform whoopie pies that bake evenly.
- Don’t overbake: Watch closely near the end of baking to avoid drying out the cakes; they should be soft, not hard.
- Cool completely: Always cool the cake rounds fully before filling to prevent melting the cream cheese layer.
- Chill to set: Refrigerate after assembling to allow the filling to firm up and thicken for the best bite.
How to Serve Valentine’s Red Velvet Whoopie Pies
Garnishes
Sprinkle a dusting of powdered sugar or edible glitter over the whoopie pies for a festive touch. Fresh berries or a small heart-shaped chocolate on top add an extra pop of Valentine’s flair without overpowering the flavor.
Side Dishes
Pair these luscious whoopie pies with a cup of rich hot chocolate, creamy latte, or even a chilled glass of milk for the perfect complementary treat. Light fruit salads or whipped cream on the side are delightful accompaniments that balance the richness.
Creative Ways to Present
Arrange the whoopie pies in a tiered dessert stand or wrap individually in clear cellophane tied with a satin ribbon for gifting. You can also box them up with personalized notes to make someone’s Valentine’s Day extra special and memorable.
Make Ahead and Storage
Storing Leftovers
Keep your Valentine’s Red Velvet Whoopie Pies covered in an airtight container in the refrigerator for up to 4 days to maintain freshness and creaminess of the filling.
Freezing
For longer storage, freeze assembled whoopie pies by wrapping each individually in plastic wrap and placing them in a freezer bag. They maintain best quality for up to 2 months.
Reheating
Thaw frozen whoopie pies in the fridge overnight before serving. If preferred warm, bring to room temperature or microwave briefly in 10-second intervals to avoid melting the cream cheese.
FAQs
Can I make Valentine’s Red Velvet Whoopie Pies ahead of time?
Absolutely! These whoopie pies store well in the fridge and freezer, making them a great make-ahead dessert option.
What can I use instead of buttermilk?
If you don’t have buttermilk, simply mix 1 tablespoon of vinegar or lemon juice with 1 cup of milk and let it sit for 5 minutes before use.
How do I get the cakes to be perfectly round?
Using a cookie scoop helps portion even amounts of batter, and baking on parchment paper ensures the cakes hold their shape without sticking.
Is there a substitute for red food coloring?
You can use natural alternatives like beet juice or powdered beetroot to achieve a red hue, though the color may be subtler.
Can I freeze just the cake layers?
Yes, you can freeze the cooled cake rounds separately before filling; thaw completely and add filling when ready to assemble.
Final Thoughts
Valentine’s Red Velvet Whoopie Pies are a wonderful way to celebrate love with something sweet and heartfelt. Their tender texture, classic flavors, and adorable presentation make them a sure hit for your Valentine’s Day or any special occasion. Give this recipe a try to delight your loved ones and add a pop of red to your dessert table!
Related Posts
Print
Valentine’s Red Velvet Whoopie Pies
Celebrate love with these charming and delicious Valentine’s Red Velvet Whoopie Pies. Featuring soft, cakey red velvet layers filled with a sweet and tangy cream cheese filling, these treats offer a perfect balance of rich cocoa flavor and creamy texture. Easy to make and customizable to suit dietary needs, they are ideal for gifting or sharing at any Valentine’s occasion.
- Total Time: 1 hour
- Yield: 12 whoopie pies 1x
Ingredients
Cake Ingredients
- 2 cups all-purpose flour
- 2 tablespoons cocoa powder
- 1 teaspoon baking soda
- 1 teaspoon baking powder
- 1/2 cup unsalted butter, softened
- 1 cup sugar
- 2 large eggs
- 1 cup buttermilk
- 1 teaspoon vanilla extract
- 2 tablespoons red food coloring
Filling Ingredients
- 8 oz cream cheese, softened
- 1 1/2 cups powdered sugar
- 2–3 tablespoons heavy cream or softened butter (optional, for extra fluffiness)
Instructions
- Prepare the Cake Batter: In a medium bowl, sift together the all-purpose flour, cocoa powder, baking soda, and baking powder to ensure a smooth texture. In a large bowl, beat the softened butter and sugar until light and fluffy. Add the eggs one at a time, mixing well after each addition. Stir in the vanilla extract and red food coloring to achieve a vibrant red hue. Alternately add the flour mixture and buttermilk, starting and ending with dry ingredients, and mix just until combined to avoid overworking.
- Bake the Cake Rounds: Preheat the oven to 350°F (175°C) and line baking sheets with parchment paper. Using a cookie scoop or tablespoon, drop the batter onto the sheets in even rounds about 2 inches apart for spreading room. Bake for 10-12 minutes, or until the cakes spring back gently to the touch. Remove and cool completely on wire racks.
- Make the Cream Cheese Filling: Beat the softened cream cheese with powdered sugar until smooth and creamy. For an extra fluffy texture, whip in heavy cream or softened butter until light and silky. Adjust sweetness as desired. The filling should be easy to spread and hold its shape.
- Assemble the Whoopie Pies: Pair cooled cake rounds of similar size. Spread or pipe the cream cheese filling onto the flat side of one cake, then sandwich with a second. Press gently to even out filling without squeezing it out. Repeat with remaining cakes. Refrigerate assembled pies for at least 30 minutes to set the filling.
Notes
- Use room temperature ingredients (butter, eggs, cream cheese) for smoother mixing and better texture.
- Use a cookie or ice cream scoop for uniform cake rounds that bake evenly.
- Do not overbake to keep cakes soft and moist.
- Cool cake rounds completely before filling to prevent melting the cream cheese.
- Refrigerate after assembling to allow filling to firm up for the best eating experience.
- Prep Time: 20 minutes
- Cook Time: 12 minutes
- Category: Desserts
- Method: Baking
- Cuisine: American
- Diet: Vegetarian
Nutrition
- Serving Size: 1 whoopie pie
- Calories: 280
- Sugar: 25g
- Sodium: 180mg
- Fat: 15g
- Saturated Fat: 9g
- Unsaturated Fat: 4g
- Trans Fat: 0g
- Carbohydrates: 32g
- Fiber: 1g
- Protein: 3g
- Cholesterol: 45mg
Keywords: red velvet, whoopie pies, Valentine dessert, cream cheese filling, red velvet treat, Valentine's Day dessert