Why All Butter Pie Crust Is a Game Changer
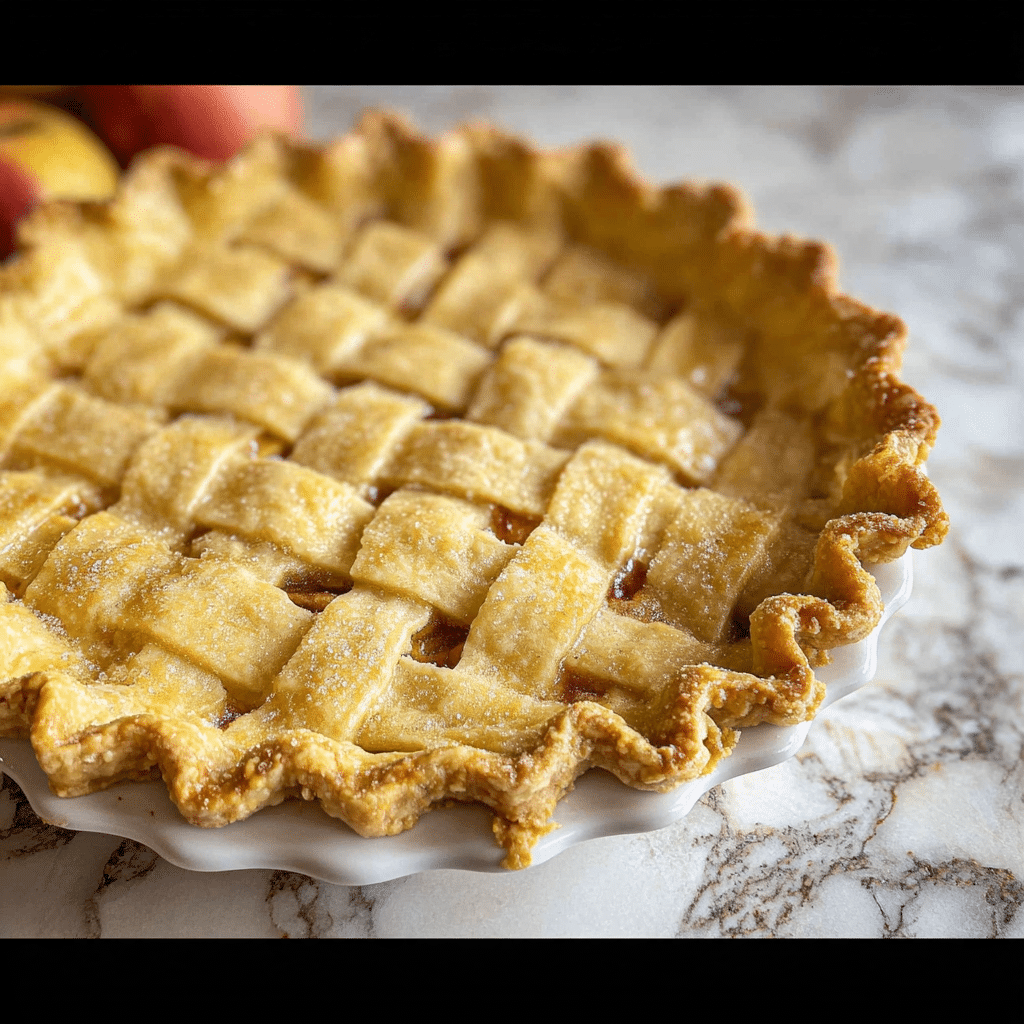
If you’ve ever wondered what transforms a simple pie into an unforgettable dessert, the secret often lies in the crust itself. The All Butter Pie Crust is a timeless classic that brings a flaky, rich texture and a warm buttery flavor, elevating every filling it embraces into a heavenly experience. Whether you’re baking an apple pie or a decadent chocolate tart, this crust’s buttery goodness makes every bite a delightful masterpiece.
Why You’ll Love This Recipe
- Flaky Texture: The all butter fat creates layers that bake into a tender, crisp finish that melts in your mouth.
- Rich Flavor: Butter adds a natural, creamy richness that cannot be replicated with shortening or lard.
- Simple Ingredients: Made with pantry staples, it requires only a few straightforward ingredients for maximum taste.
- Versatility: Perfect for both sweet and savory pies, allowing endless creativity.
- Improved Control: Using butter means you can easily adjust the flavor with quality brands or even salted varieties if desired.
Ingredients You’ll Need
This All Butter Pie Crust recipe shines because of its simplicity. Each ingredient plays a crucial role in building that perfect texture and buttery flavor that you’ll notice in every bite.
- All Butter: Provides the rich flavor and flaky layers essential to the crust’s signature texture.
- All-Purpose Flour: The base of the dough, creating structure without toughness.
- Cold Water: Keeps the dough cool and helps bind ingredients without melting the butter.
- Salt: Enhances flavor and balances the sweetness or richness of the butter.
- Sugar (optional): Adds a subtle sweetness if you’re aiming for a dessert crust.
Variations for All Butter Pie Crust
One of the beauties of the All Butter Pie Crust is how easily it can be customized to suit your tastes or dietary preferences. Here are some creative tweaks you can try to make it uniquely yours.
- Whole Wheat Flour: Substitute half the all-purpose flour with whole wheat for a nuttier flavor and denser texture.
- Herb-Infused Butter: Blend softened butter with fresh herbs like rosemary or thyme to elevate savory pies.
- Brown Butter: Use browned butter for an added layer of nutty, caramel notes.
- Gluten-Free Flour Blend: Swap all-purpose flour for a gluten-free blend to accommodate dietary restrictions.
- Lemon Zest: Add lemon zest in the dough for a hint of brightness, perfect for fruit pies.

How to Make All Butter Pie Crust
Step 1: Chill the Butter
Start by cutting cold butter into small cubes and placing it in the fridge until you’re ready to mix. Keeping butter cold is critical to achieving a flaky texture.
Step 2: Mix Dry Ingredients
In a large bowl, whisk together flour, salt, and sugar (if using) to evenly distribute the dry components before adding butter.
Step 3: Cut in the Butter
Use a pastry cutter or your fingertips to incorporate the butter into the flour mixture until the mixture resembles coarse crumbs with some pea-sized butter pieces remaining.
Step 4: Add Cold Water
Slowly sprinkle cold water, one tablespoon at a time, over the mixture, gently tossing with a fork to bring the dough together without overworking it.
Step 5: Form and Chill the Dough
Turn the dough onto a lightly floured surface, shape it into a flat disk, wrap tightly in plastic wrap, and chill in the refrigerator for at least one hour before rolling.
Step 6: Roll Out and Use
When ready, roll the dough out on a lightly floured surface to your desired thickness, then transfer it to your pie dish, trimming and crimping the edges as needed.
Pro Tips for Making All Butter Pie Crust
- Freeze Butter Before Use: Ensures it stays cold longer for superior flakiness during mixing.
- Don’t Overwork the Dough: Mix just until combined to avoid toughening the crust.
- Use Ice-Cold Water: Prevents the butter from melting too soon, helping maintain layers.
- Rest the Dough Properly: Chilling allows gluten to relax and the butter to firm up for easier handling and better texture.
- Roll Evenly: Thick, uneven dough can bake inconsistently, so aim for uniform thickness.
How to Serve All Butter Pie Crust
Garnishes
Sprinkle raw sugar or a pinch of coarse sea salt on the crust’s edges before baking to add a lovely crunch and visual appeal.
Side Dishes
Pair sweet pies with fresh whipped cream or vanilla ice cream, and for savory pies, serve alongside a crisp green salad or roasted vegetables for a complete meal.
Creative Ways to Present
Try lattice tops, cut-out shapes, or brush the crust with egg wash for a golden-brown finish that makes your pie irresistible and picture-perfect.
Make Ahead and Storage
Storing Leftovers
Wrap leftover baked pies tightly with plastic wrap or foil and store in the refrigerator for up to four days to keep freshness.
Freezing
You can freeze unbaked dough wrapped well in plastic wrap and foil for up to three months, making it convenient to bake fresh crust whenever you want.
Reheating
To maintain crispness, reheat pie slices in a 350°F oven for 10-15 minutes instead of microwaving, which can make the crust soggy.
FAQs
Can I substitute butter with shortening in this recipe?
While shortening can make the crust tender, using all butter offers a richer flavor and flakier texture that’s hard to match, so it’s best to stick with butter for All Butter Pie Crust.
Why is my pie crust tough instead of flaky?
Tough crust usually results from overworking the dough or using warm butter; chilling the dough and handling it gently helps ensure a delightfully flaky crust.
How do I prevent the crust from shrinking during baking?
Resting the dough in the refrigerator before baking and avoiding stretching it when fitting into the pan helps minimize shrinkage in your All Butter Pie Crust.
Can I make this crust dairy-free?
Traditional All Butter Pie Crust relies on butter, but you can experiment with high-quality dairy-free butter substitutes for a similar texture and flavor.
Is it necessary to use ice-cold water?
Yes! Ice-cold water is essential for keeping the butter solid within the dough, which creates the flaky layers as it bakes.
Final Thoughts
All Butter Pie Crust truly is a game changer when it comes to baking pies that impress both in texture and flavor. With just a handful of simple ingredients and a bit of attention to technique, you can create a buttery, flaky foundation that turns every pie into a delicious masterpiece worth sharing. Give this recipe a try, and watch your pie game soar!
Related Posts
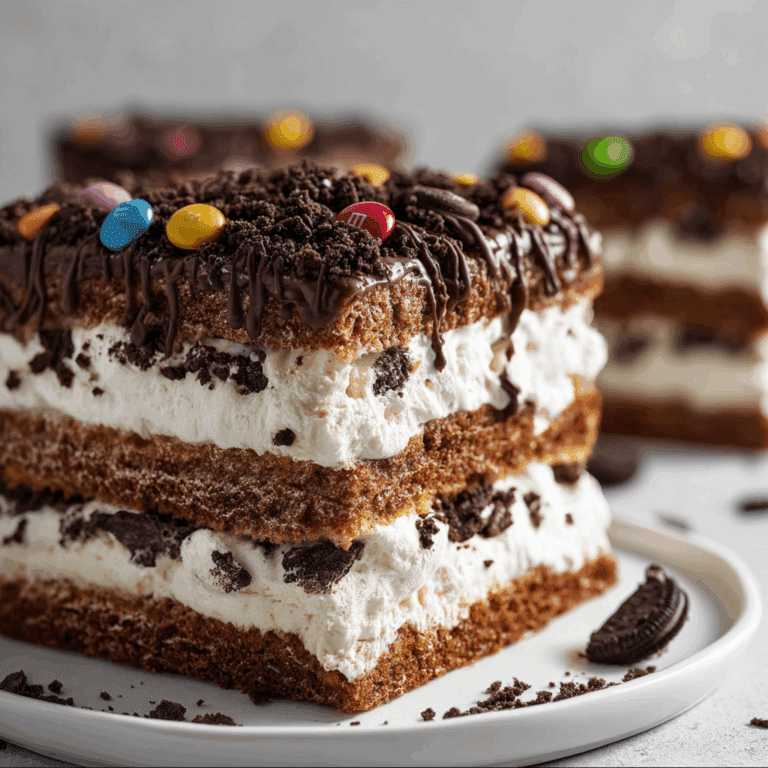
- How to Make Easter Dirt Cake Dessert Fast
- How to Make Mini Easter Carrot Cakes Easily
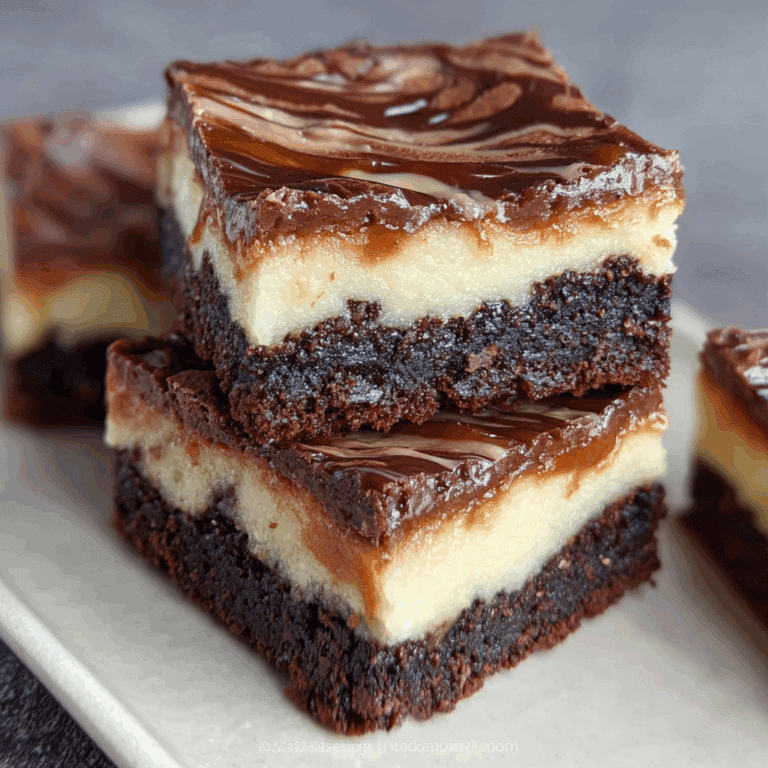
- How to Make Easter Swirl Cheesecake Pie
All Butter Pie Crust
This All Butter Pie Crust recipe delivers a flaky, rich, and buttery foundation perfect for sweet and savory pies alike. Made with simple pantry staples, the crust offers tender, crisp layers that melt in your mouth, elevating any pie filling to a heavenly dessert or meal accompaniment.
- Total Time: 1 hour 20 minutes (including chilling time)
- Yield: Enough dough for one 9-inch double crust pie
Ingredients
Basic Ingredients
- 1 cup (2 sticks) cold unsalted butter, cubed
- 2 1/2 cups all-purpose flour
- 1 teaspoon salt
- 1 teaspoon sugar (optional, for dessert crusts)
- 6–8 tablespoons ice-cold water
Instructions
- Chill the Butter: Cut cold unsalted butter into small cubes and place it in the refrigerator until ready to mix. Keeping the butter cold is crucial for a flaky texture.
- Mix Dry Ingredients: In a large bowl, whisk together the all-purpose flour, salt, and sugar (if using) to evenly distribute the dry components before adding butter.
- Cut in the Butter: Use a pastry cutter or your fingertips to incorporate the butter into the flour mixture until the mixture resembles coarse crumbs with some pea-sized butter pieces remaining.
- Add Cold Water: Slowly sprinkle ice-cold water one tablespoon at a time over the mixture, gently tossing with a fork to bring the dough together without overworking it.
- Form and Chill the Dough: Turn the dough onto a lightly floured surface, shape it into a flat disk, wrap tightly in plastic wrap, and chill in the refrigerator for at least one hour before rolling.
- Roll Out and Use: When ready, roll the dough out on a lightly floured surface to your desired thickness, then transfer it to your pie dish, trimming and crimping the edges as needed.
Notes
- Freeze butter before use to keep it cold longer, ensuring superior flakiness.
- Do not overwork the dough to avoid a tough crust; mix just until combined.
- Use ice-cold water to prevent the butter from melting prematurely, helping maintain flaky layers.
- Chill the dough properly to allow gluten to relax and the butter to firm up for easier handling and better texture.
- Roll the dough evenly for consistent baking and texture.
- Sprinkle raw sugar or coarse sea salt on crust edges before baking for crunch and visual appeal.
- Store leftover baked pies wrapped in plastic wrap or foil in the refrigerator for up to four days.
- Freeze unbaked dough tightly wrapped in plastic and foil for up to three months for convenience.
- Reheat pie slices in a 350°F oven for 10-15 minutes to maintain crispness instead of microwaving.
- Prep Time: 20 minutes
- Cook Time: 0 minutes (this recipe is for crust preparation only)
- Category: Dessert
- Method: Baking
- Cuisine: American
- Diet: Contains gluten and dairy; gluten-free variations possible by substituting flour
Nutrition
- Serving Size: 1/8 of crust
- Calories: 200
- Sugar: 1 g
- Sodium: 150 mg
- Fat: 15 g
- Saturated Fat: 9 g
- Unsaturated Fat: 6 g
- Trans Fat: 0 g
- Carbohydrates: 18 g
- Fiber: 1 g
- Protein: 2 g
- Cholesterol: 40 mg
Keywords: All butter pie crust, flaky pie crust, buttery pie dough, pie crust recipe, homemade pie crust, dessert crust, savory pie crust


